Jul 22, 2026
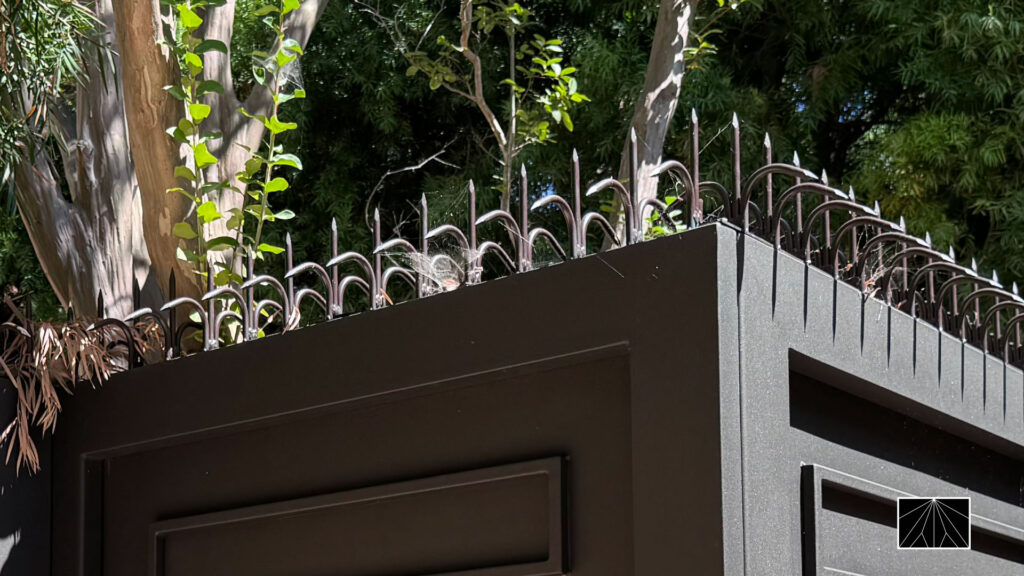
Anti-Climb Fencing in Los Angeles: Installed Case Studies
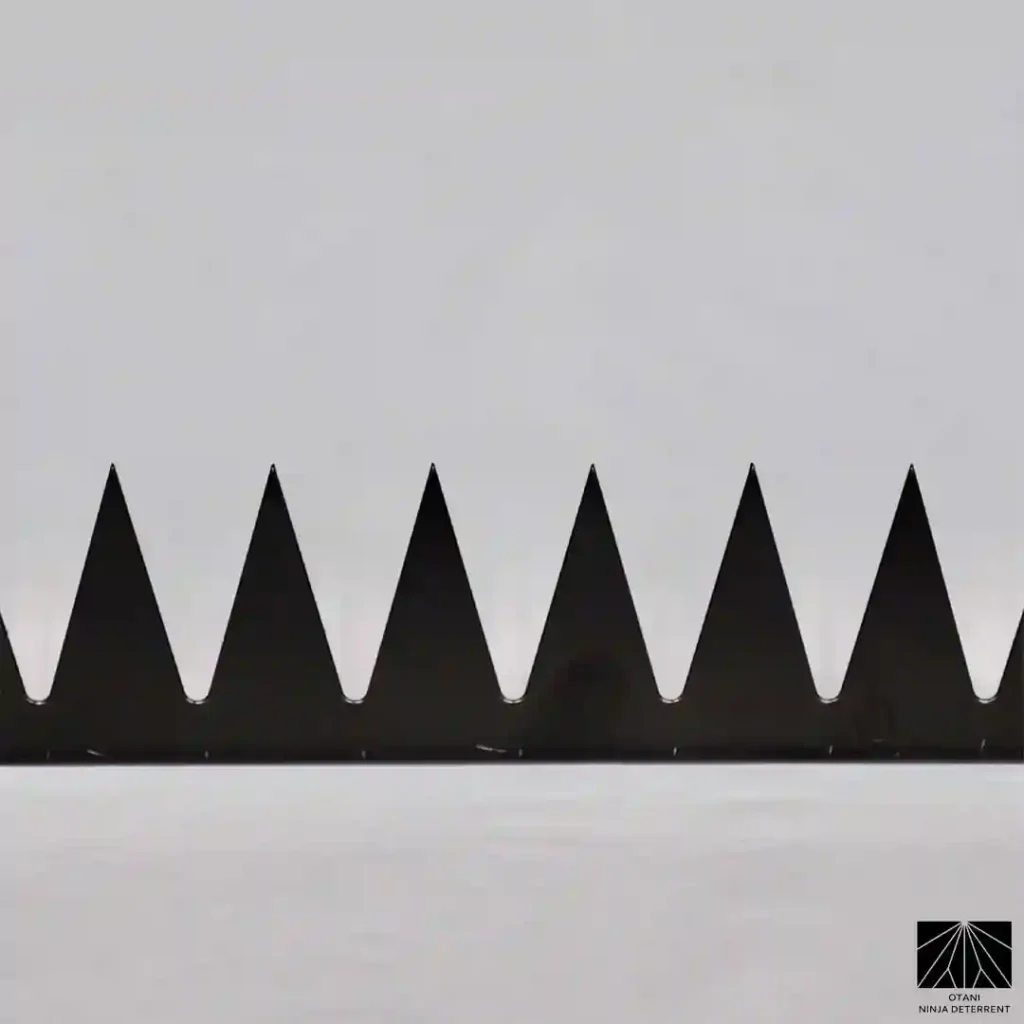
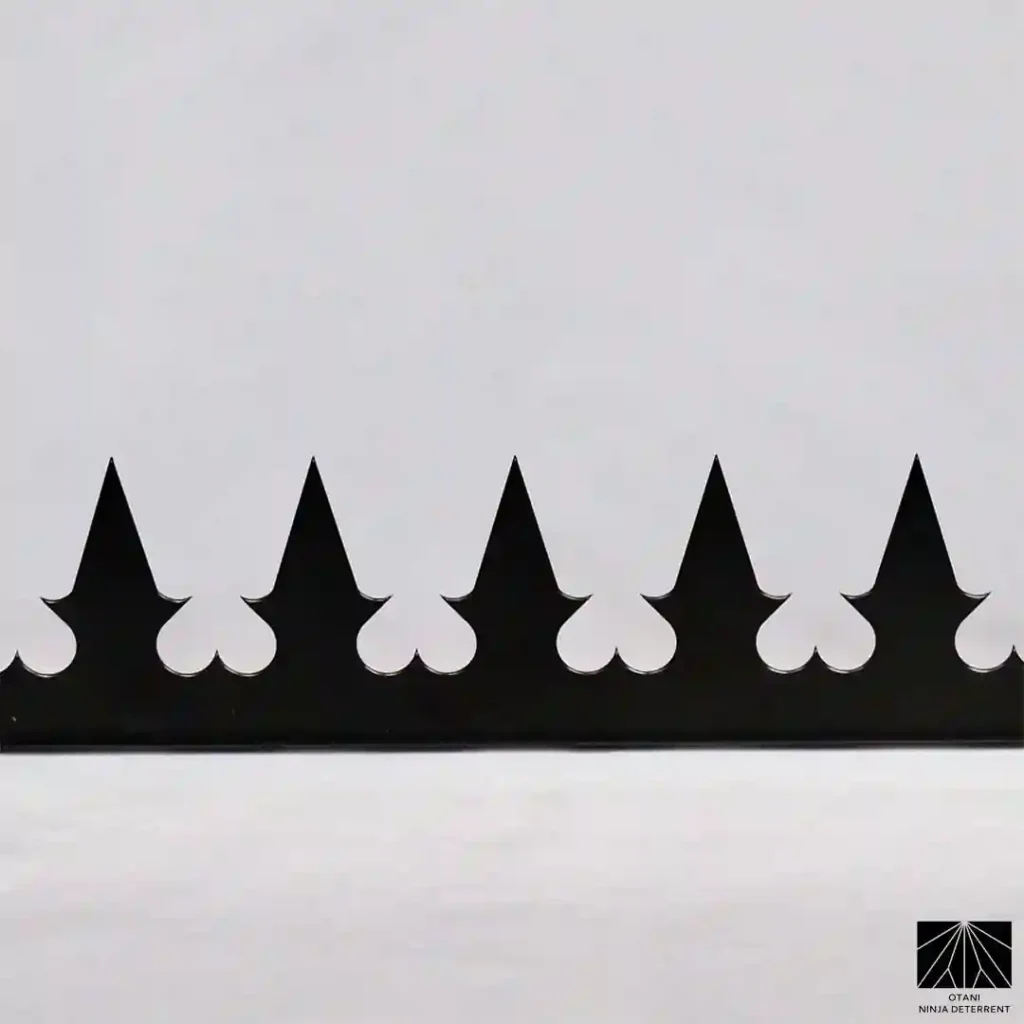
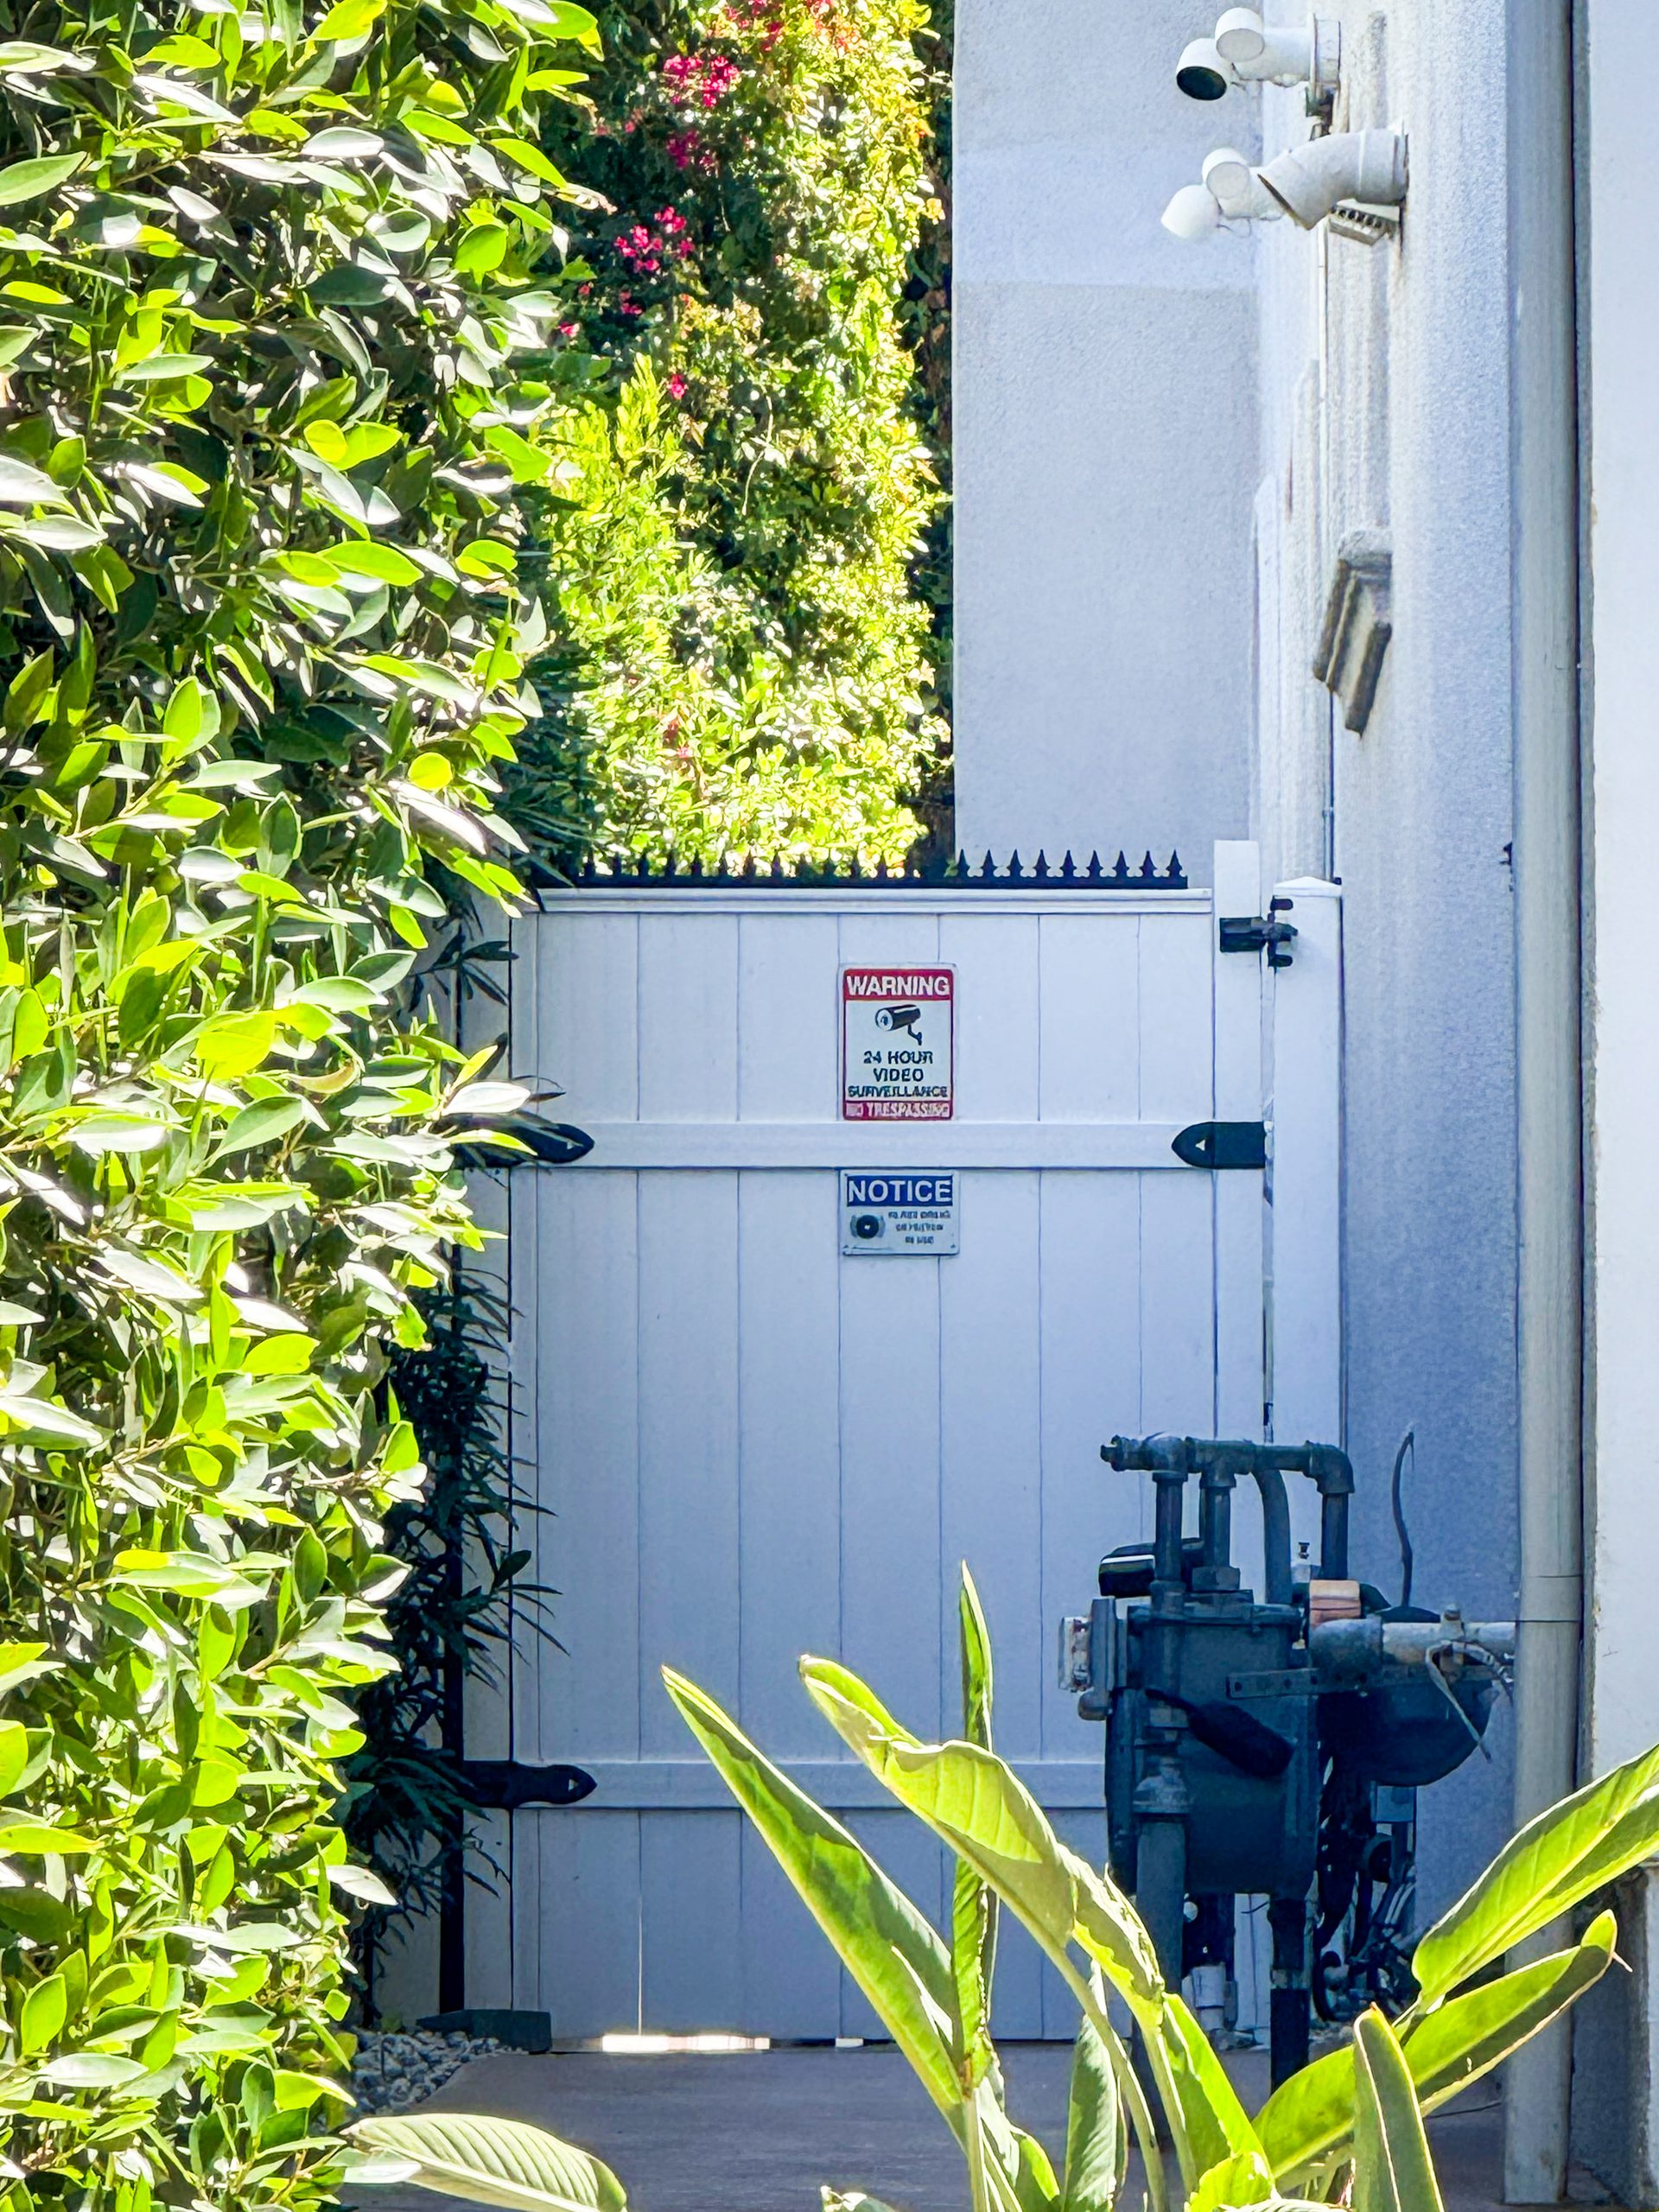
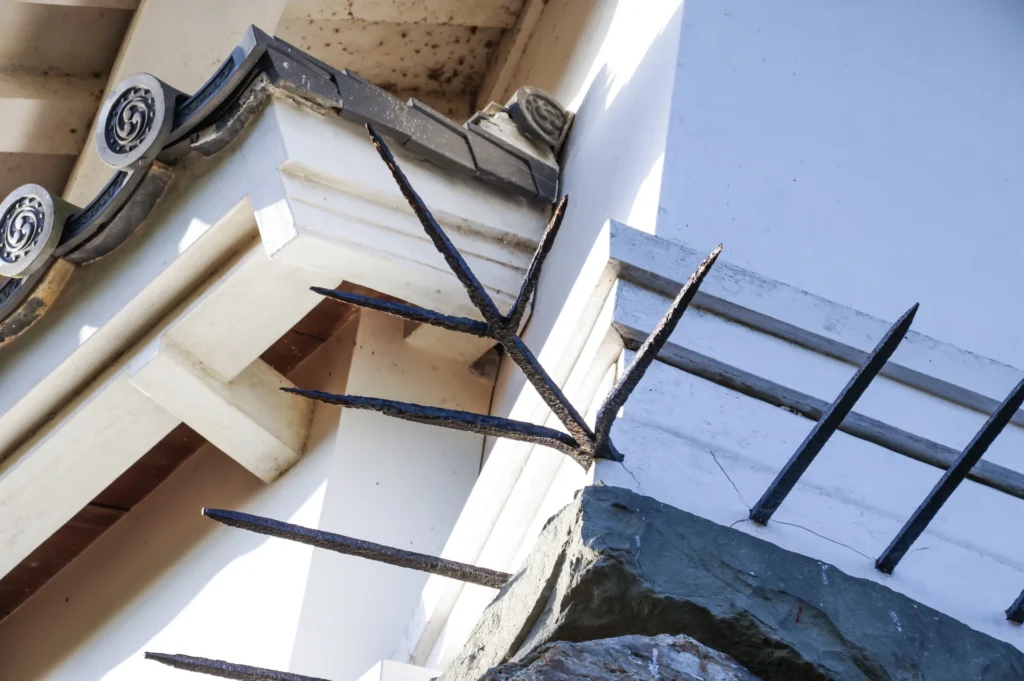
See anti-climb fencing installed across Los Angeles — Venice alleys, Laurel Canyon hillsides, Hollywood stucco coping, Santa Monica glass. Real LA jobs.
Column
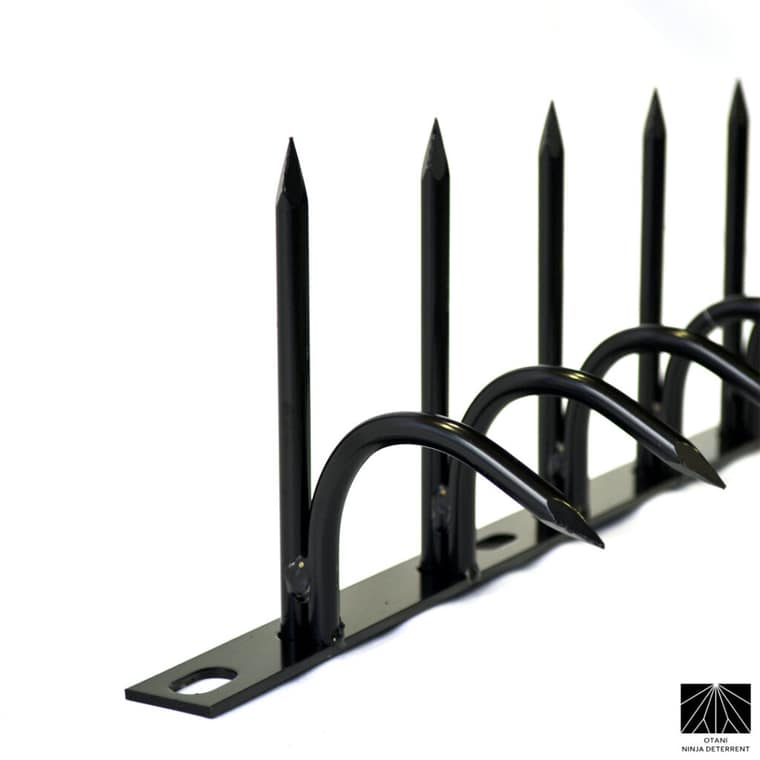
TL;DR: Fit anti-climb spikes at a minimum height of 2 m (6.6 ft), in clearly visible locations, with warning signage — and always wear cut-resistant gloves and eye protection, because the tips are intentionally sharp. Work from one end: mark the anchor centres through the fixing slots, then anchor each 500 mm (19.69") section at a minimum of three points — both end slots plus one or more middle slots — before joining the next section into the free end. This guide follows the official Otani Ninja Deterrent installation method.
For a sound masonry wall with the right anchors and PPE, fitting anti-climb spikes is a manageable job for a competent DIYer. But two factors demand respect: the tips are intentionally sharp, and the work is usually done at height. If the run is long or high, the substrate is uncertain, or you are not comfortable working safely off a ladder or scaffold, use a qualified installer. Improper installation can cause serious injury, and the manufacturer is not liable for failure to follow the official instructions.
Tools and materials: safety goggles, heavy-duty cut-resistant gloves, tape measure, pencil, an impact driver or cordless drill, a concrete/masonry drill bit, and the correct concrete anchors or stainless-steel anchor bolts (with washers) sized for the section's 11 mm and 7.5 mm oval slots.
Before you start, confirm: local codes and permit requirements for spike/fence height; that the wall is structurally complete, fully cured and sound; that the top surface is flat, level and free of debris; the substrate (solid brick or concrete coping) so you can select the right anchor; that every section is undamaged (never fit a deformed unit); your property/boundary lines to avoid encroachment; and that you have safe access for work at height (scaffold or ladder) with the area below isolated.
Select the fastener to suit the substrate, and use stainless-steel fixings outdoors for corrosion resistance — always with a washer under the head or nut:
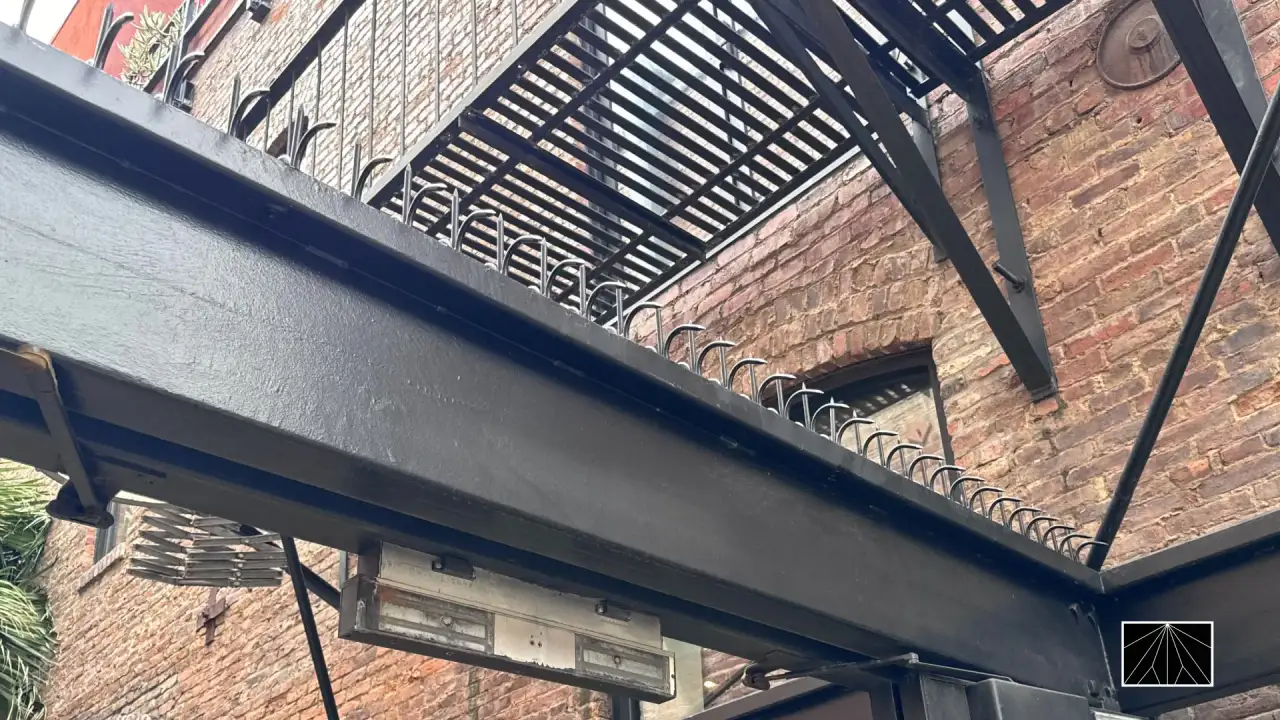
On a metal fence or railing rather than masonry, fix into the top rail with appropriate corrosion-resistant fasteners, keeping the same principle of at least three fixings per section.
Install at a minimum height of 2 m (6.6 ft), beyond the reach of adults and children, in clearly visible locations, and display warning signage. This is both the manufacturer's requirement and the widely accepted rule for staying within liability rules. Keep the points off the public side of the boundary and check local height limits and permit requirements before you begin.
In most jurisdictions, yes — provided they are fitted responsibly: at least 2 m above ground, not overhanging or contacting a public footpath, and with a clear warning sign. Rules vary by locality, HOA and property type, so confirm local building codes, ordinances and your boundary lines before installation. Liability, not the spikes themselves, is what the law focuses on.
Fix each 500 mm (19.69") section at a minimum of three points: both 11 mm oval end slots plus one or more 7.5 mm middle slots. Add further middle fixings on long or exposed spans. Use a washer under every fastener and confirm each fixing is fully tight with no loose sections.
Use an expansion/wedge anchor or a masonry (concrete) screw, in stainless steel for outdoor durability, sized to the 11 mm and 7.5 mm oval slots. Drill the pilot holes to the correct diameter, blow out the dust, set the anchor, and tighten with a washer under the head or nut.
Yes. Keep the protective tip covers on until each section is fixed in place — the tips are intentionally sharp and can cause serious injury. Wear cut-resistant gloves and eye protection throughout, and never handle the product with the tips exposed.
Yes, on a sound masonry wall with the correct anchors and PPE it is a manageable DIY task. For long runs, high walls, uncertain substrates, or professional/commercial sites, use a qualified installer to ensure secure fixing, straight alignment and compliance with local codes.
Yes — display appropriate warning signage after installation. It is a manufacturer requirement, reduces the risk of an unintended-injury claim, and, combined with mounting at 2 m or above, keeps a residential installation on the right side of liability rules.
Written by
Kojiro OtaniFounder of Saitani-Ya Co., Ltd. and creator of the Ninja Deterrent™ brand. Drawing on Japan's tradition of shinobi-gaeshi, he designs and manufactures anti-climb security spikes that pair real deterrence with architectural beauty — writing from first-hand experience in their engineering, production, and real-world installation.
Jul 22, 2026
See anti-climb fencing installed across Los Angeles — Venice alleys, Laurel Canyon hillsides, Hollywood stucco coping, Santa Monica glass. Real LA jobs.
Jul 12, 2026
Explore anti-climb spikes for walls and fences. Compare types, materials, and aesthetics to find the best security solution, featuring premium options like Ninja Deterrent.
Jul 9, 2026
Discover Shinobi Gaeshi (忍び返し), traditional Japanese anti-climb spikes. Learn its history, meaning, modern applications, and how Ninja Deterrent offers decorative security solutions.
Our standard series not quite right? We design and manufacture fully custom anti-climb systems tailored to your exact specifications — unique profiles, dimensions, materials, and finishes.
For general inquiries about our products or consultation regarding installation, please contact us.
Schedule a free online consultation with our team. Pick a time that works for you — available slots are shown in your local time zone.